Showing posts with label wedding. Show all posts

December 13, 2010

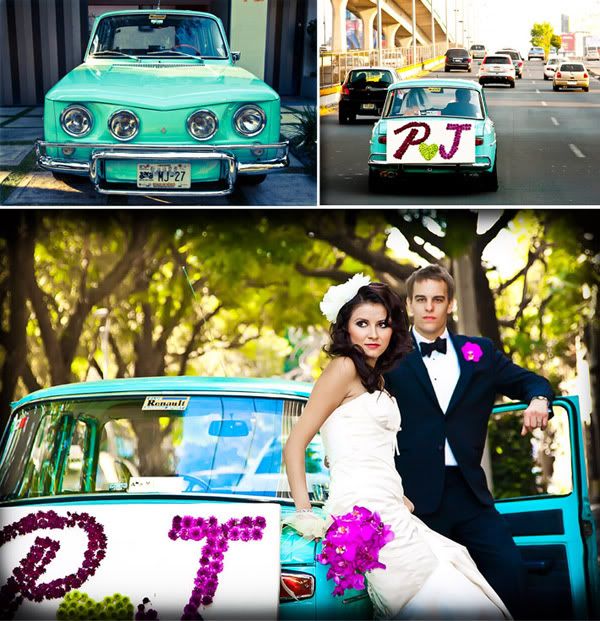
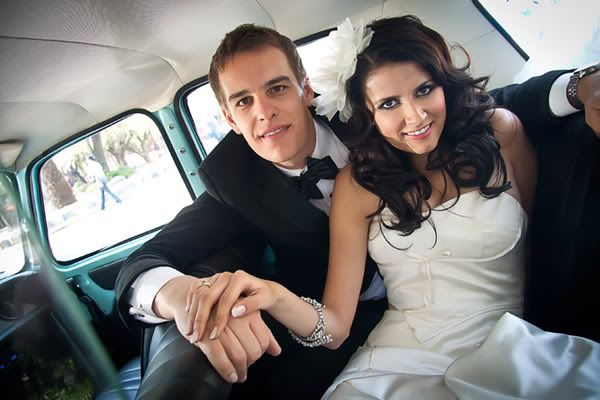
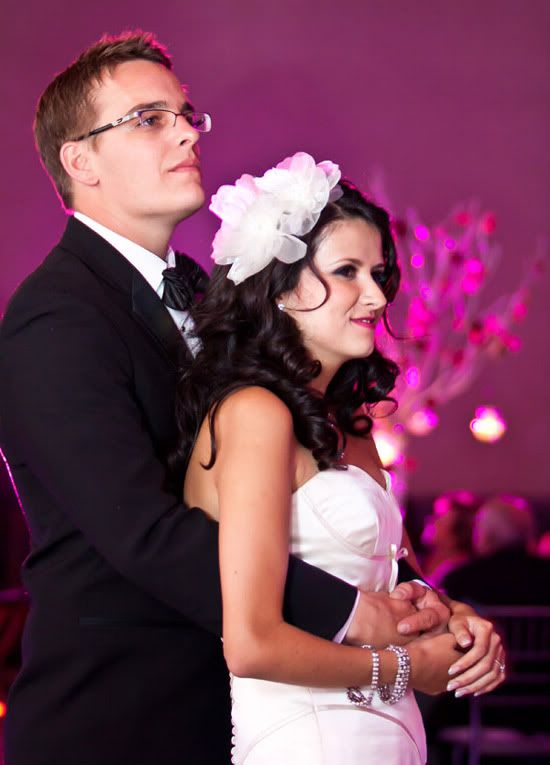
Pamela and Joseph's Wedding

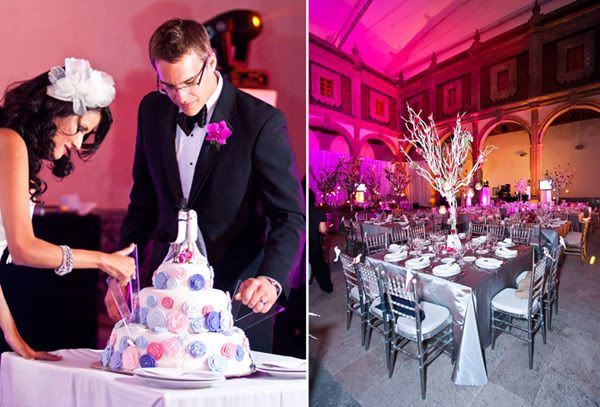
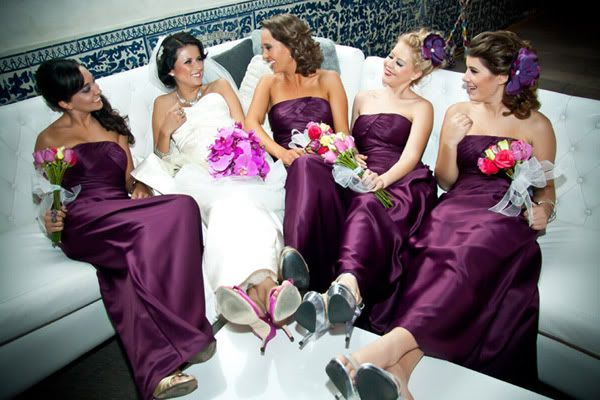
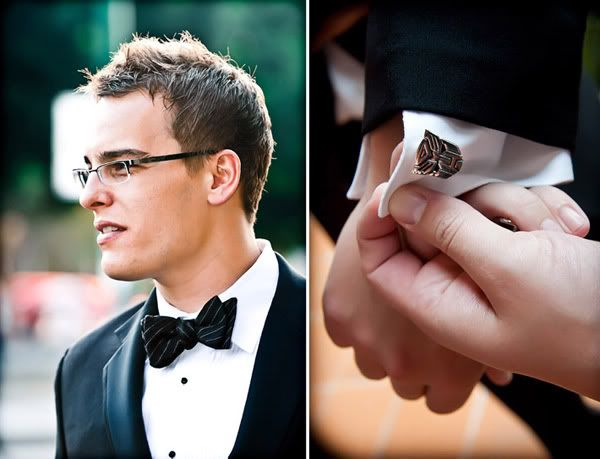
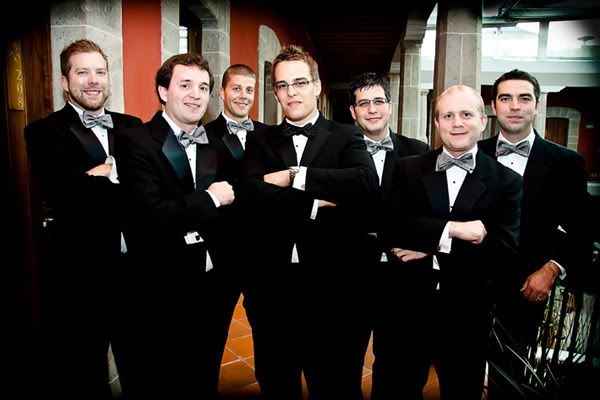
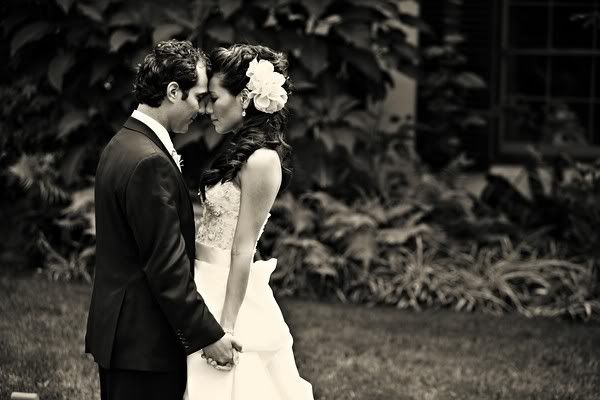
Pamela, (who bought a hairpiece from Minelolly), was SO wonderful to let me browse through her wedding photos and pick some to share with you. The couple sure had some fun details. Notice what they used to cut their cake? And take a look at the cuff links, totally awesome. Enjoy!


Thank you Pamela!
The photo credit goes to Miguel MarĂ­n and Jorge Aguilar, two very talented photographers in Mexico City, the dress is Vera Wang, shoes Kate Spade, jewelry is vintage from the 1920's and the beautiful headband worn at the reception reception is
Minelolly.

November 3, 2010

Sheer Blossoms

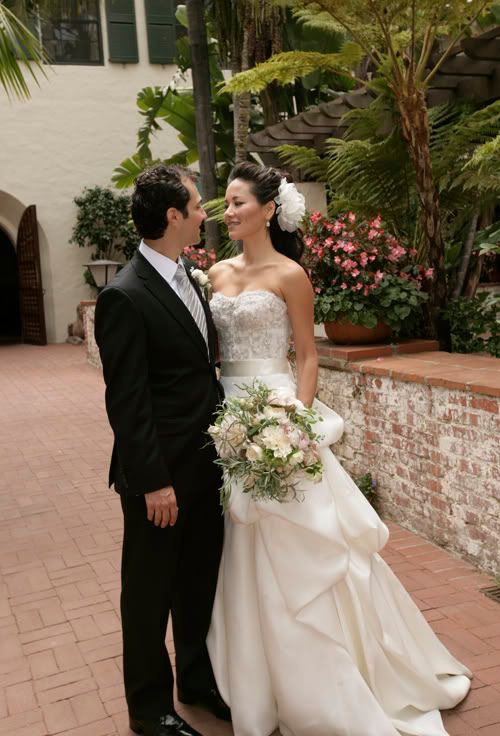
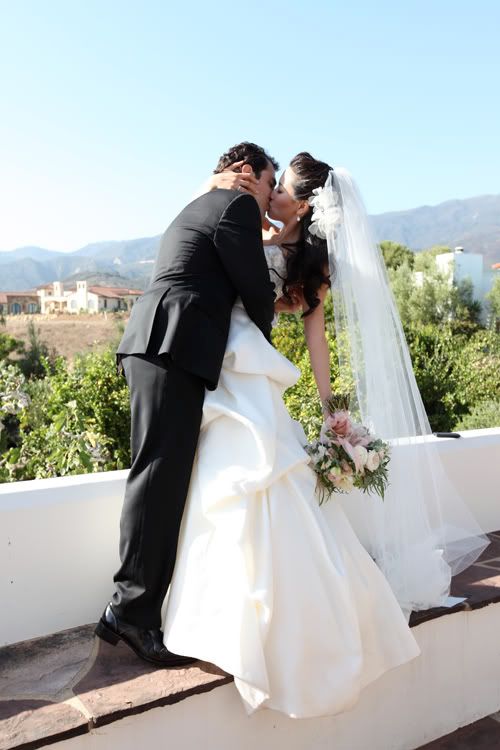
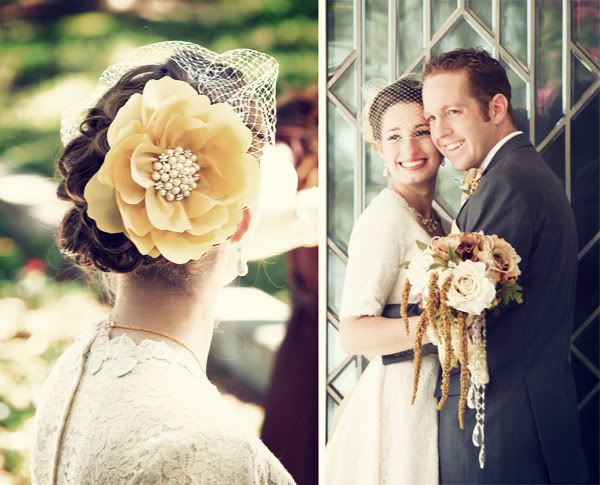
I love weddings! I love how each one is different and how each one is so beautiful! I received these photos from Sarah who used two sheer flowers from Minelolly for her hair—don't you just love how she chose to wear them?
(Am loving that bouquet too.)
They even worked wonderfully with her long veil. Gorgeous bride! Handsome Groom!

Thank you for sending in your photos, I loved seeing them!
(First two photos taken by the bride's father. Last photo taken by wedding photographer Josh Newton.)

Real wedding, Sheer hair flowers, Sheer blossoms, Sheer flower fascinators, Minelolly hair pieces.

October 17, 2010

Wedding En Vintage

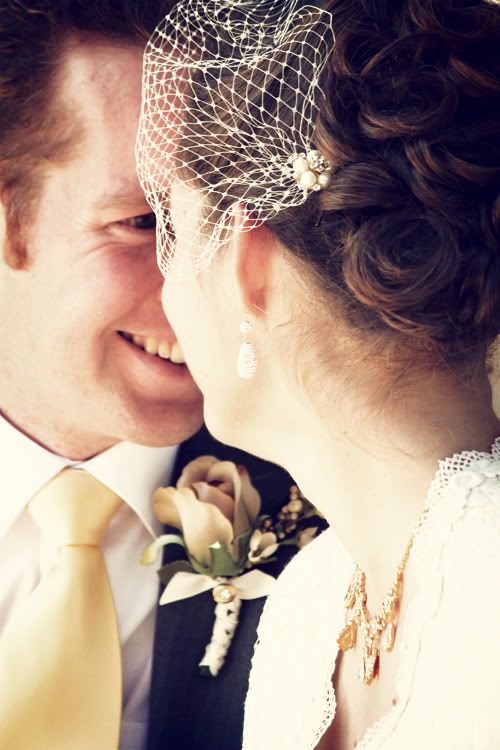
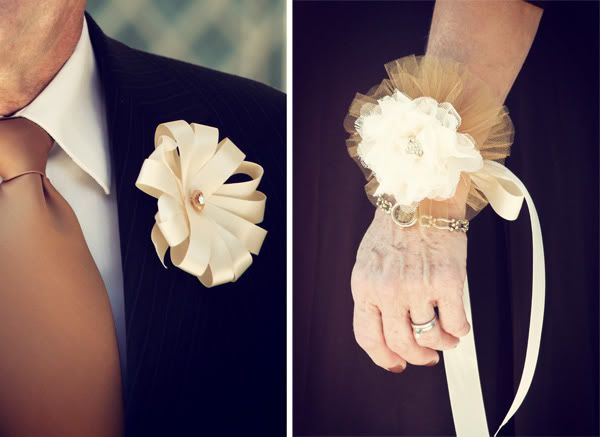
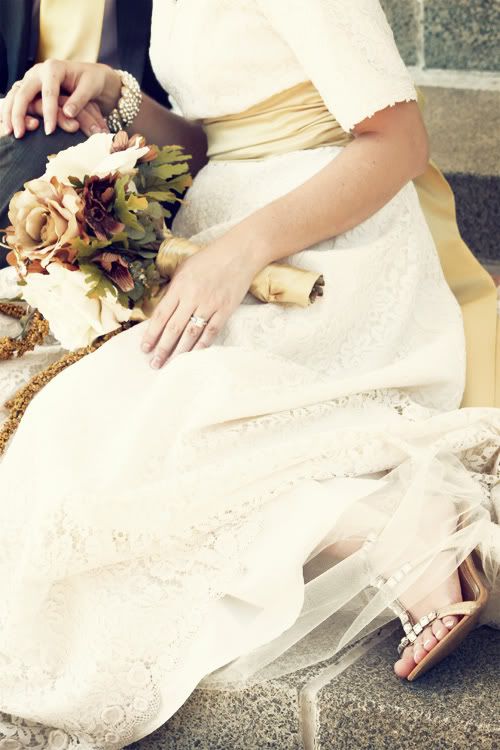
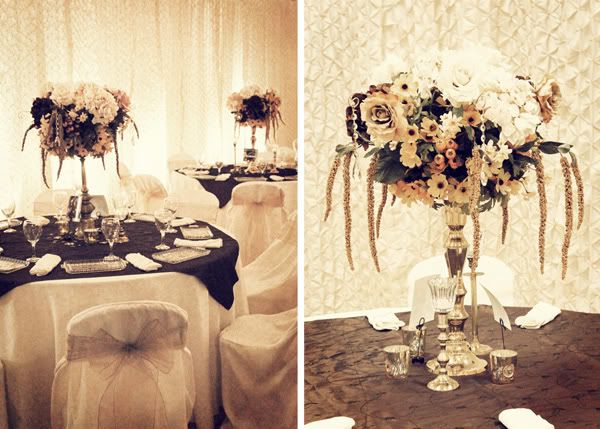
This is the last of my images from the Wedding last weekend. Finally, enjoy!
(If you would like to see the pro photos, please head on over to Melissa Fulmer's post on this wedding. Click here.) The Hair Piece was a special order from Minelolly and The Wedding Planner was Heidi Jeannerett from Yellow House in Kansas.


Vintage Wedding Board, Vintage Reception, Minelolly wedding, Minelolly Hair piece, Minelolly birdcage veil, yellow and brown wedding, fall wedding

October 11, 2010

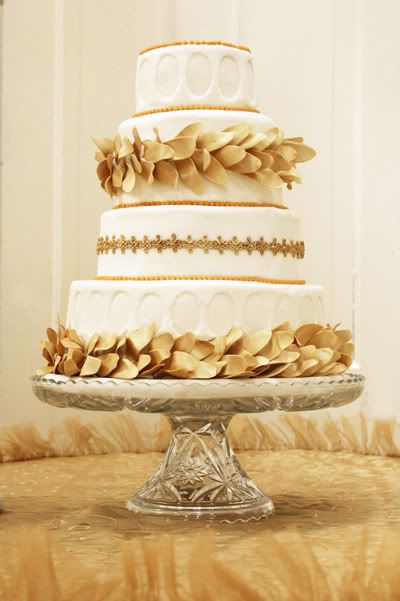
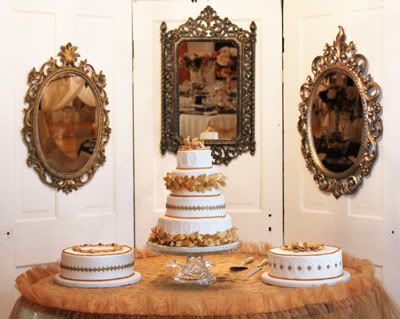
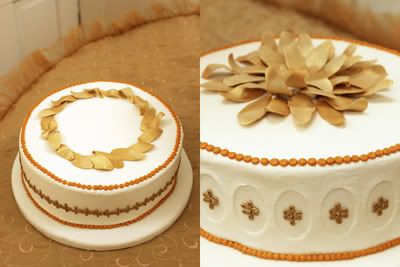
Gold Laurel Leaves on a Wedding Cake

For the wedding this last weekend, I was asked to do the cake. It was my first and last wedding cake I think. A wedding is too much pressure for little me. But that being said, I still had fun.
The design is mainly derived from a Martha Stewart cake with a couple of tweaks. Normally I would have designed the cake but the family liked this one, so I went with it. I will take credit for all the work though!

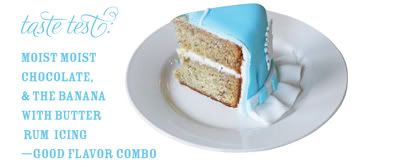
There were two flavors, a pumpkin chocolate chip nut, and a really moist chocolate. I mean moist. Both from scratch. I don't believe in boxed cake...if you can even call it cake.

The frosting is butter-cream. The laurel leaves are made from gum paste sprayed with an edible gold spray and the little decorative ribbon is made of royal icing—both were made a few weeks ahead of time.
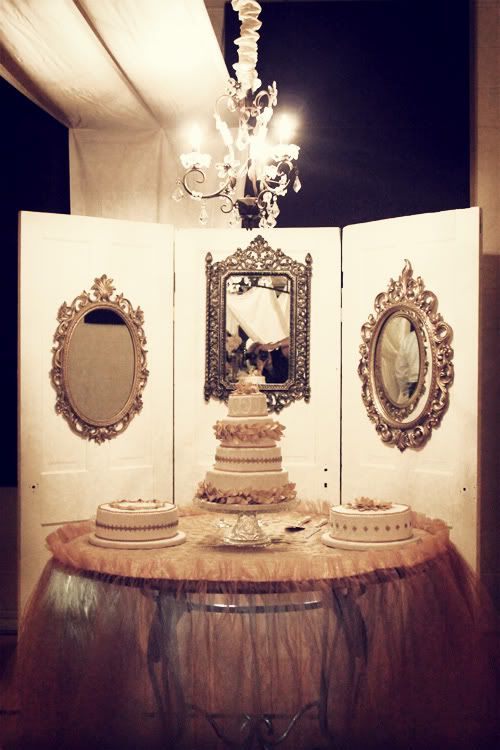
The cakes were displayed all together, in front of three vintage doors and mirrors. I knew they would come in handy!
8 hours of baking and 12 hours of decorating later...we ended up with a gorgeous cake set. I think the two accompanying cakes really help finish off the look and would recommend it again.
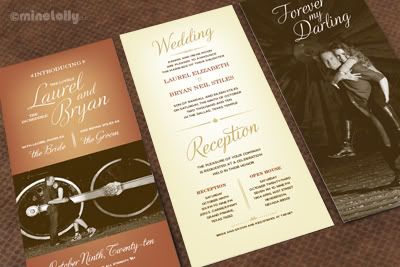
1940's

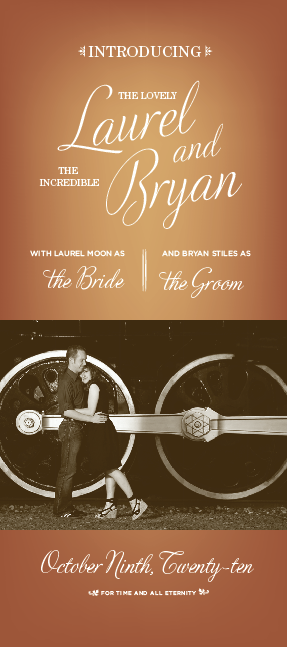
This announcement take its cues from 1940's movie titling. You've seen the movies, where the title is written on the slant in lovely white cursive over a dark background. The cards turned out simple, elegant, and ever so slightly dramatic—the lighting in the engagement photos adds some of that drama. It truly fits what the couple are going for and who have taste for vintage, like mystery dinners, and old black and white movies.

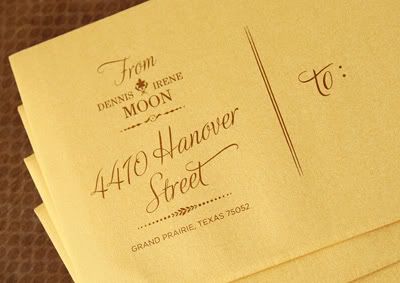
Sent out in gold envelopes.


Engagement photography by Sarah Stiles.
Wedding announcements, vintage inspired announcements, custom wedding announcements, invitations, minelolly announcements, fall announcements, movie inspired announcements, gold envelopes, custom design

September 13, 2010

Creative Thinking

Recently a customer who had previously purchased a hairpiece, contacted Minelolly asking if FOUR more matching flowers could be made for her wedding cake. I LOVE the idea. What a fun way to tie things together. Here's the photo she sent, taken by a guest. Thanks Stefany!

July 23, 2010

Touch of Yellow

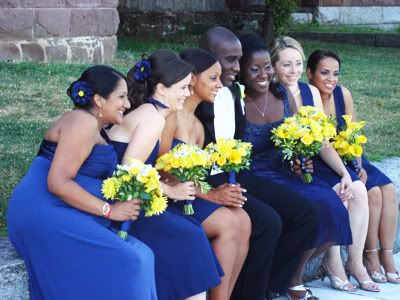
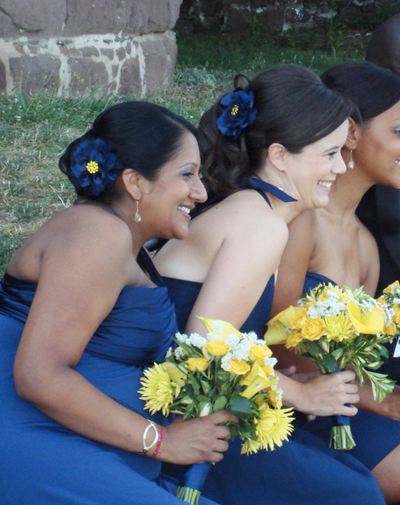
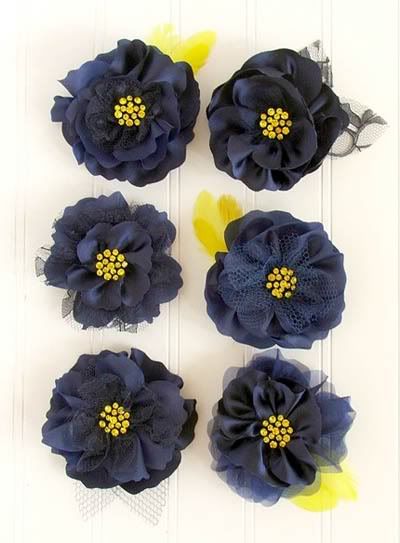
I just received an image from one of the brides I made a custom order for. She sent along this picture of her bridesmaids wearing Minelolly navy blue and yellow fascinators. They turned out so great. I was lucky to find those yellow rhinestones for the center—which I knew would reflect the light perfectly, allowing the hair pieces to stand out just enough. Too fun! Thanks Melissa!
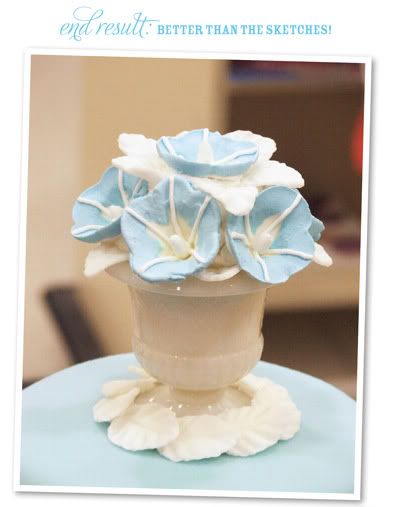


Photo Credit: Melissa Anderson

April 27, 2010

Simple is Best

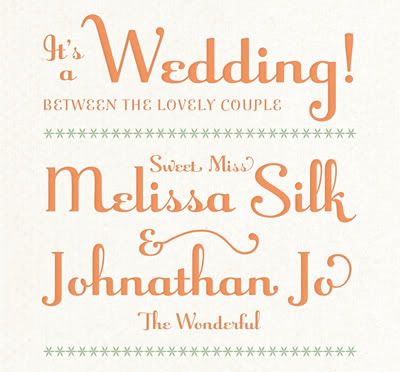
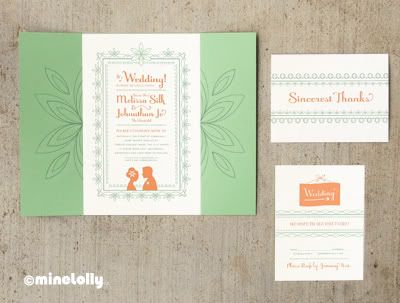
Wanting to design something specifically for letterpress, I have found that simple line patterns look great (you can really see and feel the impression.) So, I started off creating a border inspired by this mint green hairpiece I saw over at Gochemoche. The rest of the design just fell into place.


Minelolly wedding announcement, Minelolly invitations, green and orange invitation, two color letterpressed, Minelolly designs

April 19, 2010

Trees are Inspiring

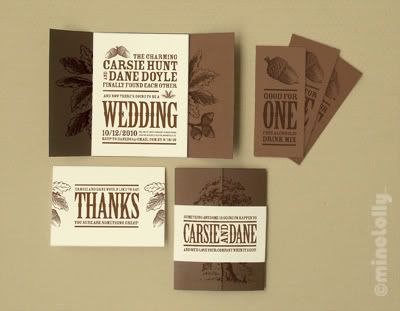
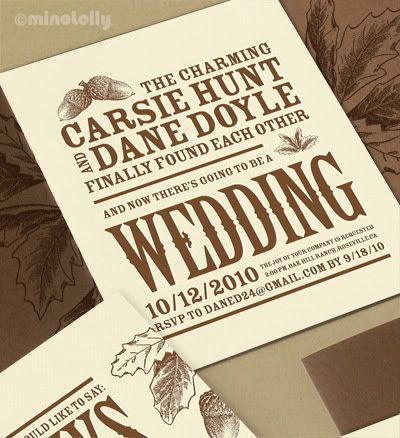
I just finished this new set and am totally excited about it. There was plenty of inspiration to be had here! Oak trees dot the wedding location and translate into a relaxed, yet well put together set of announcements. (And can't you just imagine all the things you could do at the reception?) Also, printing a 4.5 x 5.5 inch announcement helps to extend the amount of printed materials and keep the cost low.
country wedding announcement, oak tree inspiration, brown wedding announcement, California wedding announcement, invitations, minelolly, acorn wedding announcement, letterpressed invitations, custom designed invitations, thank you card, free drink ticket,

April 7, 2010

Teaser

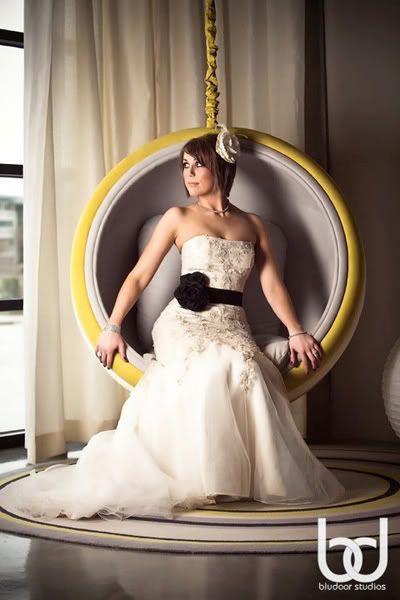
A couple of my hair pieces were featured in a photo shoot for the NYLO Hotel in Las Colinas Texas! (A special thanks to Krystin Hall of Event Elements for making it all possible!)
I've been teased with just a few of the photos for now...so I'm teasing you with this one. I simply can't wait to see more. Fantastic photography and styling by Mike and ReJana of Blue Door Studios.

April 5, 2010

Something Blue

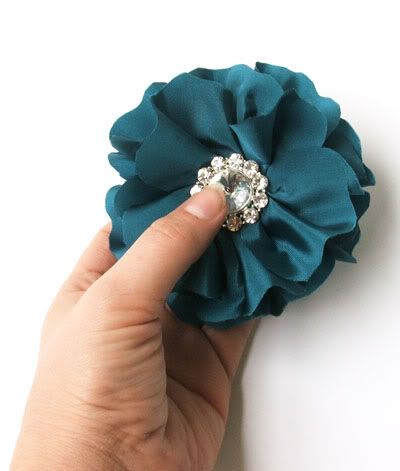
I've just registered Minelolly on the Project Wedding Website. While doing a test run, I ran into photos posted by a bride for whom I made a special order flower. I LOVE seeing how she wore it, gorgeous!


The Bride's entire post can be found here.

April 2, 2010


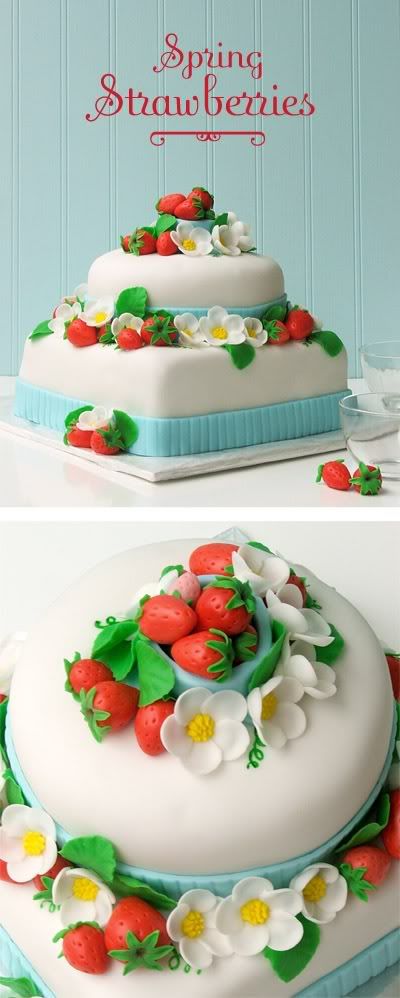
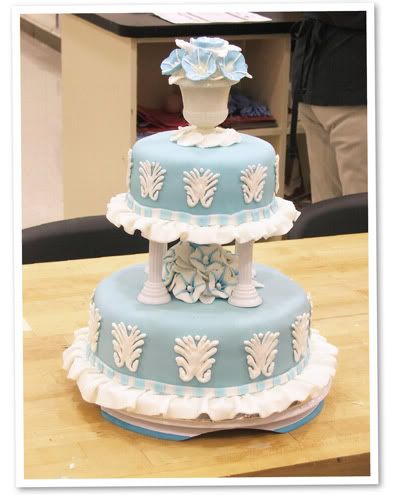
Well, the cake classes are over. This is the final cake. I had a blast and I'm finally figuring out the tricks to fondant, and time management of the cake making kind.

Bottom line: The price you pay for a custom cake is worth it, every penny. Materials and ingredients are expensive, the prep work is time consuming, and expertise is a necessity if you want a beautiful cake. I will never balk at a cake price again! To all you cake decorators out there, "WOW."

Inspiration for this cake: We had to make a little round box for the top. I wanted to fill it with something other than flowers—strawberries came to mind. Plus, I was able to use left-over blue fondant for the bands. Done and done. It turned out so cute!

March 22, 2010

Marbled Fondant and Classic Flowers

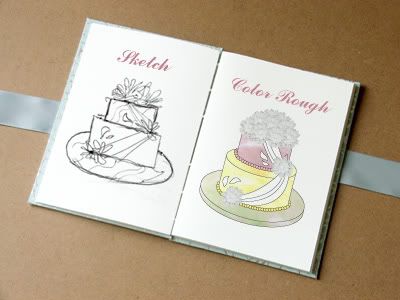
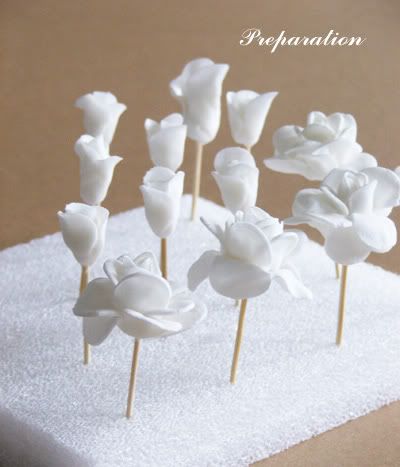
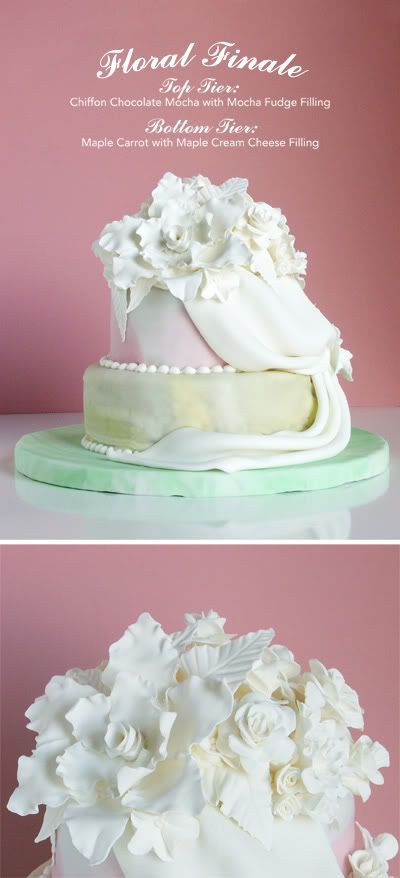
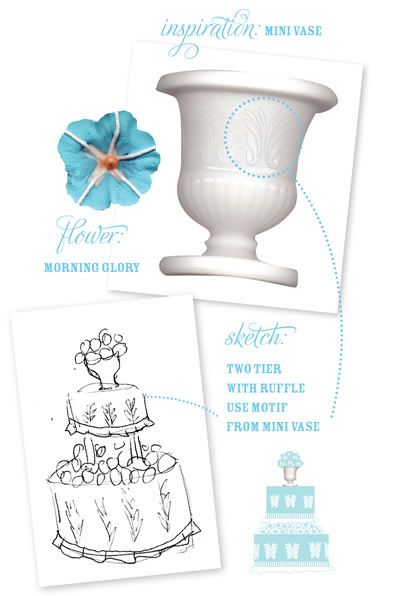
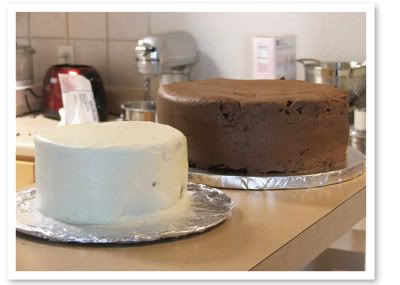
This week I wanted to practice my gum paste flowers, so that and marbled fondant became the main concentration of this cake. The process is laid out below:

It helps to start out with a sketch. Then, I finalize it, and add color. This helps to work out the quirks.
Then I get to work...
and finally the Mr. and I get to enjoy the finished project...visually AND flavor-fully!

March 8, 2010

Learning the Wedding Cake

The whole world it seems is obsessing over great wedding cakes. Admittedly, I too would enjoy handing over a design (or sketch) for a cake that matches each announcement I create. What fun that would be.

But I realized, in order to design a cake...I need to understand the limitations as well as possibilities that accompany the craft. So I am taking the Wilton cake decorating courses and have been having a blast. Here is my first ever, wedding cake.


October 6, 2009

Real Wedding

Remember the rush announcements I mentioned earlier? (click here.) Well, below is a peek at the finished product. After seeing my inspiration board the bride mentioned she wanted them mostly cute, with a little sophistication.

The set included three, postcard style pieces. An announcement, a map, and an RSVP card. On the back of each piece was a different photo of the couple and a small typographic element in one corner, saying something like "Ever After" etc. We were also able to order custom printed, pink pearlescent envelopes. It all turned out quite nice and we were both very pleased with the results.


Images from the reception:


I loved the chocolate tuxedos. The guys even wore chocolate colored shiny shoes. Yum.

Photographer: Jenny Rossi Reception Location: Fairy Tale Manor