Photo Credit: Melissa Anderson
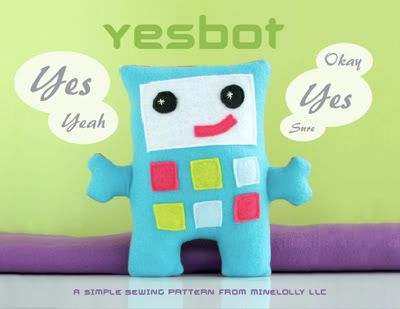
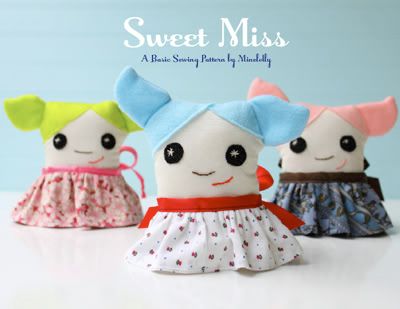
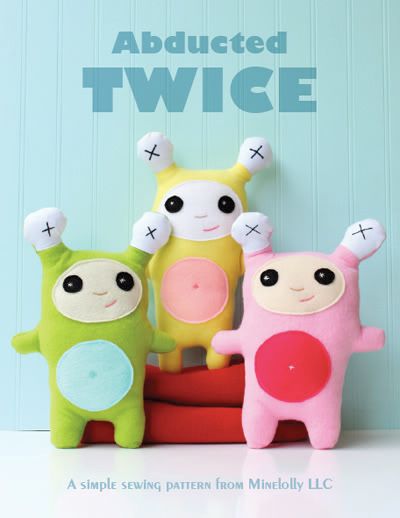
 Minelolly, plushie, softies, pdf pattern, diy, owl, robot.


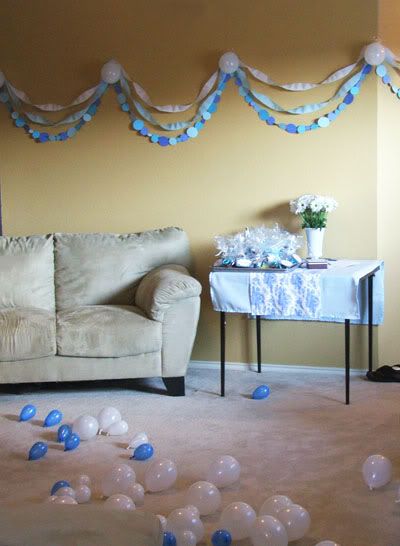
 Theme: Itty Bitty Colors: blue toile, blues, browns, white. Decorations: Polka-dots and stripes.
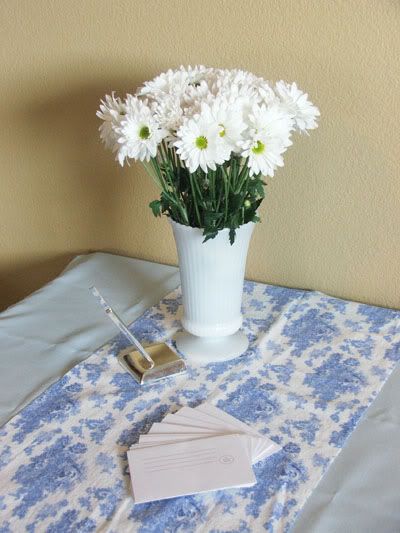
 Each guest filled out a little envelope with their address so we could send the mom home with them and thank you cards for later.
 This little sign was taped to the front door so the party goers would know they were at the right house. (As if the cars wouldn't have given it away....)
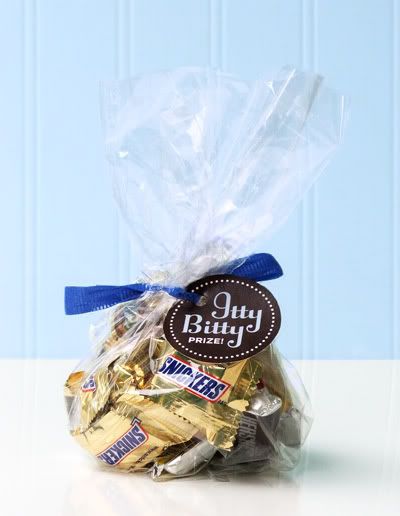
 The prize for the winner of each game was a bag of itty bitty candy bars. Very popular among the ladies.
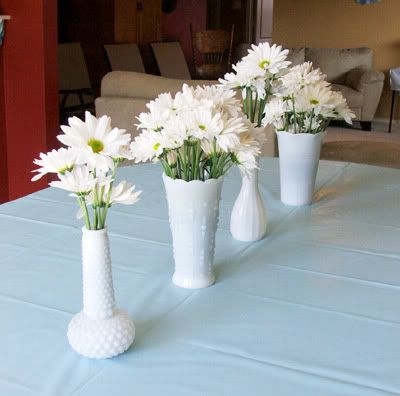
 Below: Although this is a before photo—we filled the table with plenty of theme worthy treats like: Itty bitty oreos, melon balls, round chips and dip, mini chocolate chip cookies, mini veggies and baby carrots, finger size pigs in a blanket made out of little sausages—perfect for a boy shower—and we even had soda in itty bitty cans! (Gotta love Target.)
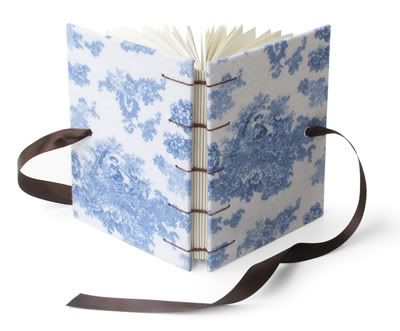
 The mom is collecting blue toile for the baby's room, so I made a small guest book to match. We passed it around the room during the party for each guest to write some advice on raising a boy.
 And lastly, before each person left they received a parting gift—an itty bitty cake!
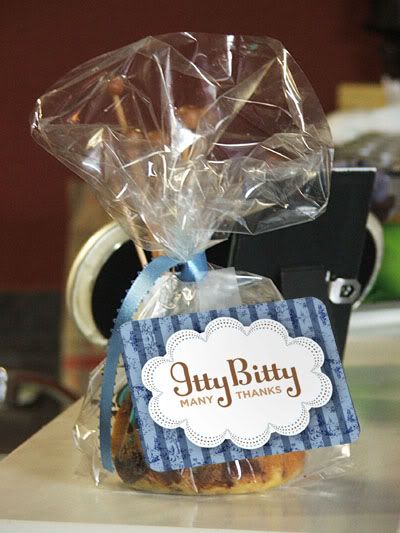 This may seem like a lot of work but we split up the preparation between three people and it was perfect! So thanks to Marcie and Jami, great teamwork!
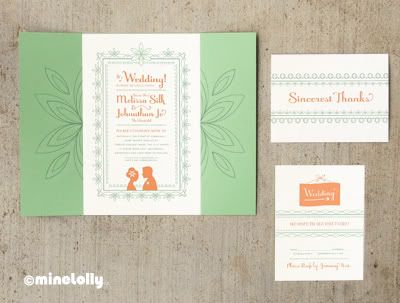
 Wanting to design something specifically for letterpress, I have found that simple line patterns look great (you can really see and feel the impression.) So, I started off creating a border inspired by this mint green hairpiece I saw over at Gochemoche. The rest of the design just fell into place.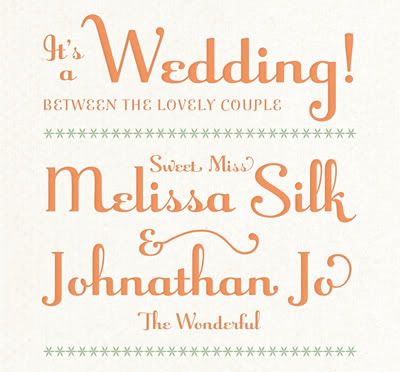

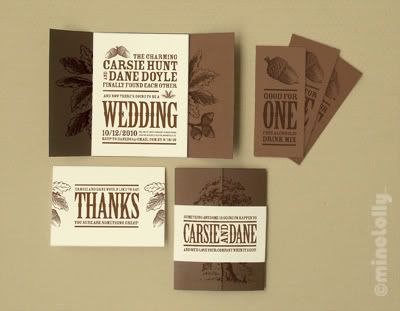
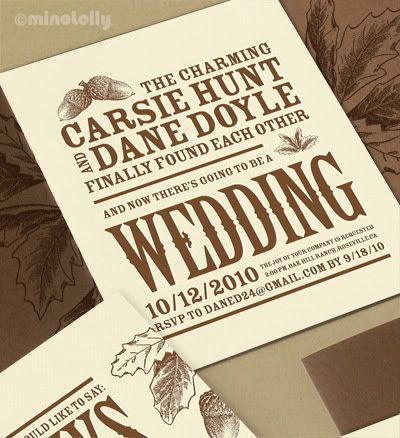 country wedding announcement, oak tree inspiration, brown wedding announcement, California wedding announcement, invitations, minelolly, acorn wedding announcement, letterpressed invitations, custom designed invitations, thank you card, free drink ticket,
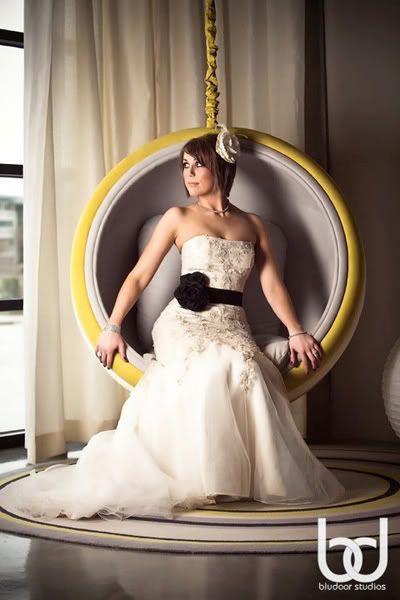 I've been teased with just a few of the photos for now...so I'm teasing you with this one. I simply can't wait to see more. Fantastic photography and styling by Mike and ReJana of Blue Door Studios.


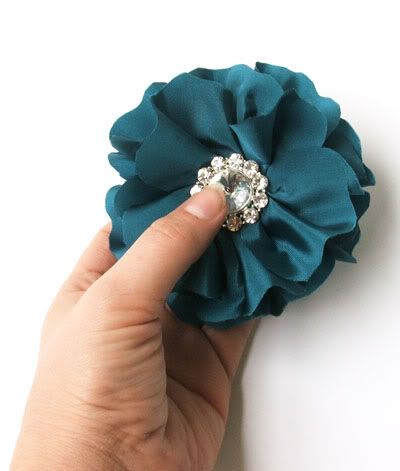 The Bride's entire post can be found here.
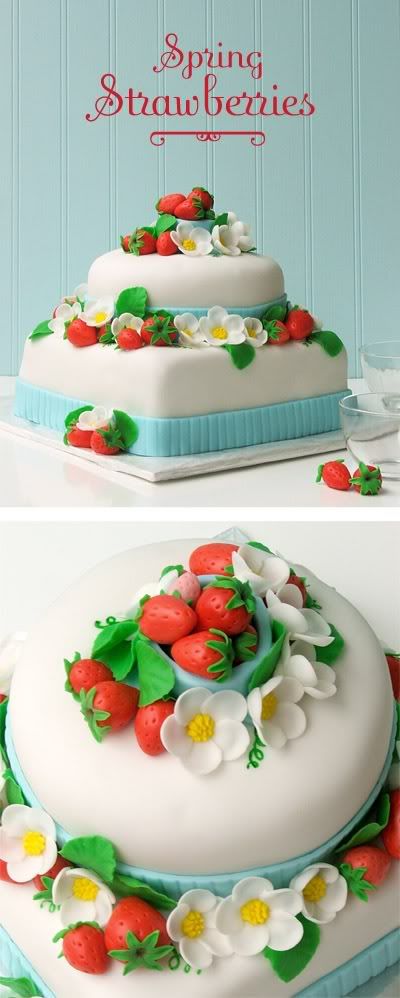
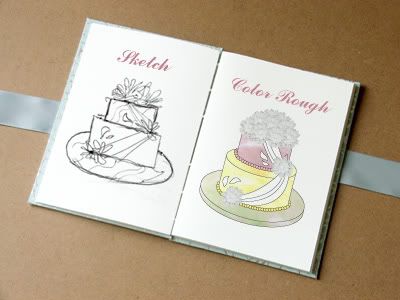 Then I get to work...
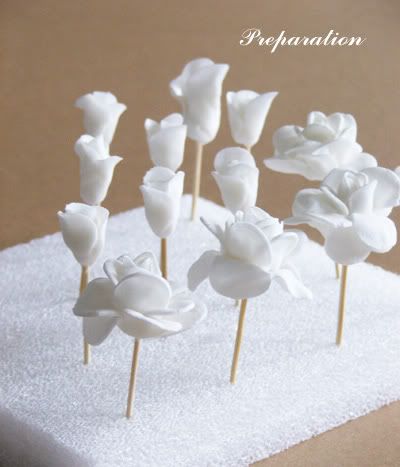 and finally the Mr. and I get to enjoy the finished project...visually AND flavor-fully!